Have you ever walked by the butcher case at your local grocery store and noticed how perfectly uniform the hamburgers they sell are? I have. A few months ago my sister and I were walking through Whole Foods and there was a man forming the perfect hamburger patties in this thingamajig in the meat department. As I watched him for a few seconds I found a sudden urge to know exactly what that thing was he was. Because what home cook wouldn’t want their patties to look as good as Whole Foods? So I said, “I would love to know how to make perfect burger patties.” He seemed surprised I would even be interested. Before telling me what tool he was using to form patties, he joked that if I wanted one it would cost me $20. Say what?! Then he looked at me, smiled and chuckled.
“Oh this? This is a lid.”
A lid?
“A lid, you know.. from a jar.”
Oh..oh thanks.
I looked at him feeling pretty stupid and decided I wasted enough of his time and moved on to another part of the store. My sister laughed at me but also agreed we just stumbled into a great kitchen/cooking/grilling tip.

Here’s my conclusion – if I didn’t know you could make uniform hamburger patties with a stinkin’ lid, chances are you didn’t know either. So here’s your chance to make your burgers look perfect like the ones you get in restaurants. It’s so simple yet so brilliant. Say goodbye to jagged edges. In the words of my two daughters, “Reduce, Re-Use, Recycle, Re-think.” This technique would work great with forming veggie patties and crab cakes too.
Although you could easily buy a hamburger press, I for one will gladly use a lid -I only have a drawer full of them. What’s also great about using lids is you can find the lid that best suits the size of your hamburger buns. For instance, if you wanted to make mini-sliders, use a small tupperware or canning lid. Pretty simple, huh?
So start saving those lids. You never know when you’ll need the perfect hamburger patty. Enjoy!
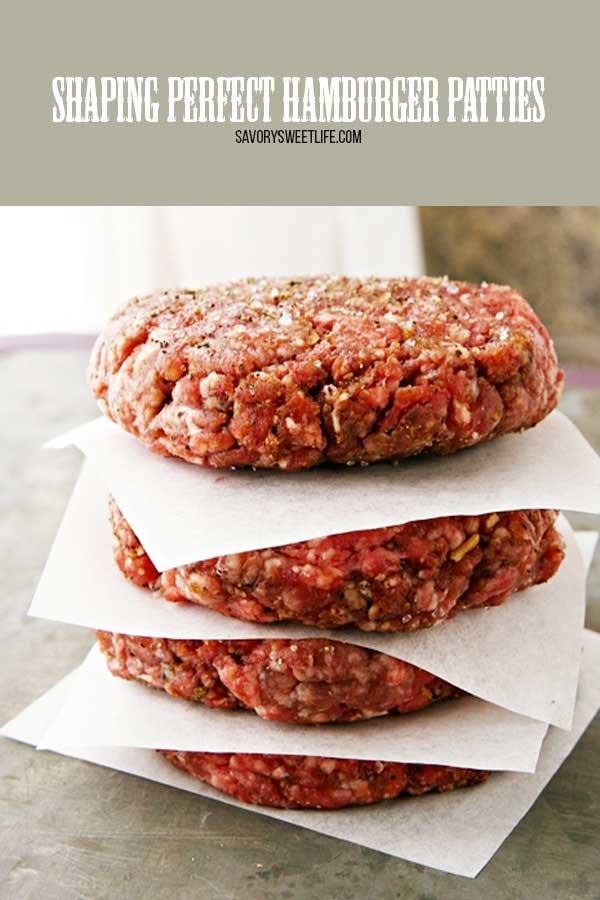
 Season ground beef with your favorite spices. Salt and pepper work great but I also like Weber’s Gourmet Burger Seasoning.
 Find a lid that is slightly bigger than the size of your hamburger bun. Cover the lid in plastic wrap. This will make it easier to remove the patty after each use.
 Place a good amount of ground beef inside the lid.
 Press meat down into the lid. Remove any excess meat or add more if necessary.
 Flip patty out and continue to make as many burgers as needed.
 For best cooking results, refrigerate patties for at least 1 hour before frying or grilling. Top with your favorite dipping sauce. Enjoy!

- ground beef
- salt and pepper
- seasonings of your choice
- lid
- Season the ground beef with salt, pepper, and any other hamburger seasonings.
- Find a lid that is slightly bigger than the size of your hamburger bun.
- Cover the lid in plastic wrap. This will make it easier to remove the patty after each use.
- Place a good amount of ground beef inside the lid.
- Press the meat down into the lid. Remove any excess meat or add more if necessary.
- Flip the patty out and continue to make as many burgers as needed.
- Refridgerate the patties the patties for one hour before grilling.
Great Tip Tkx so much
Great tip!
If your making burgers for a large group buy a 10 lbs. roll fresh never frozen, Cut off about an inch per patty, let it sit for an hour, and grill what you need. I season and salt on the grill normally just salt and pepper. Freeze the rest between wax paper in Tupperware.
This time however I won’t need anywhere near that much so I look forward to following this recipe.
That’s what I have always heard too, Stefan. It makes a big difference for even cooking to let the meat come to room temperature before cooking.
I for one, think this was a great tip, so many people on here apparently felt it necessary to be a little disrespectful but I am grateful. Anything I can reuse like this is fantastic and I appreciate you sharing. Everyone is obviously entitled to their own opinion but wow people, wow. Thank you for sharing your ideas, I’ll be using this trick tomorrow! Thanks Alice
btw, guess what? I, nor anyone in my family, knew that you could make uniform patties with a stinkin’ lid! Thanks for thinking of everyone else in the world except the 6 people who knew this trick.
And for something else that no one knows? Ask someone if they know what a sesame seed plant looks like. Then google it.