I missed the the No-Knead bread phenomena in 2006 when Mark Bittman posted Jim Lahey’s recipe for No-Knead Bread in the New York Times. Lahey’s ridiculously easy method for mixing bread dough and his method for baking it in a pot went viral as people around the world discovered they could, too, bake beautiful crusty artisan rustic bread at home without the fuss. It wasn’t until a couple years ago I heard about No-Knead bread when my neighbor brought over a loaf and we ended up sharing slices of yummy white bread slathered in buter and jam.
When Sarah told me how easy it was to make bread at home I didn’t believe her. I thought she was joking because I believe in the saying, if it sounds too good to be true then it probably is. But it was gloriously true. And since then I have become a convert.
I’ve always hesitated to write about this bread because it’s already been done. What left can be said about this bread? However, I’ve been baking two loaves every other day the last couple months and I thought it would be a great idea to share with you how I like to make this bread because it is faster and easier than Lahey’s original way of doing it.
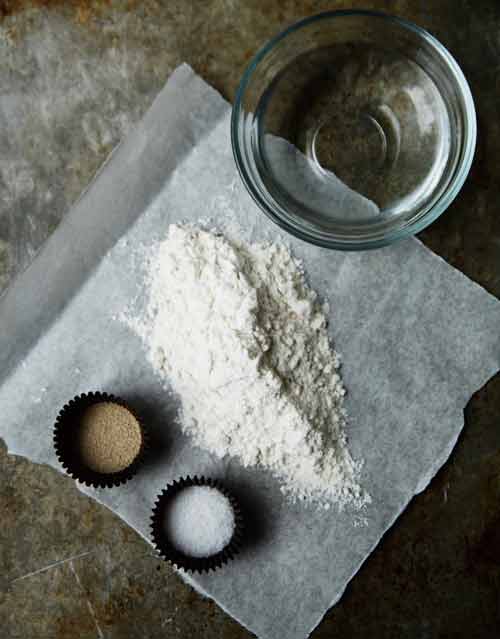
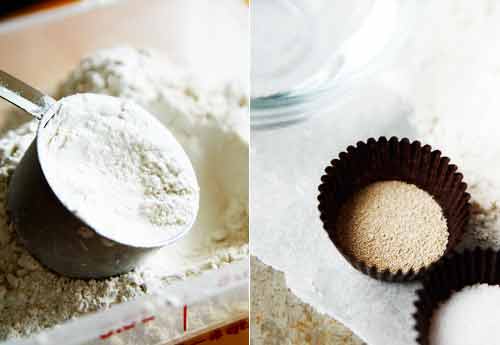
To make the bread is fairly simple. You mix luke warm water, flour, yeast, and salt in a bowl with a spoon unil the dry ingredients have been completed mixed with the water. It takes less than one minute. From there you cover the bowl with a wet kitchen towel, plastic wrap, or foil. You let the dough rest overnight. This is where I do things a little bit different than Lahey. The original recipe calls for folding the dough and letting it go a second rise in a cloth generously covered in flour. When it comes time to bake, you preheat a cast-iron pot with the lid on. When the oven is ready, you are suppose to carefully remove the lid and transfer the bread into the hot pot without burning yourself.
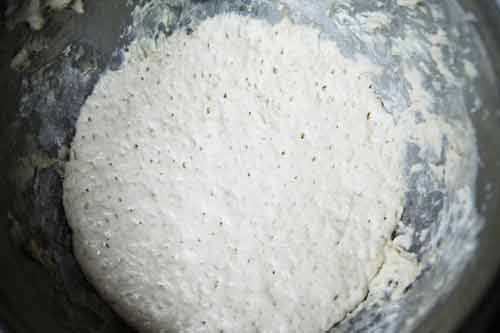 I had multiple issues with doing it this way. Often times my bread would stick to the cloth – a bread baking no-no. I hated having to pull dough from the cloth and then throwing the cloth away because I was always afraid to wash it with my other laundry. Then there was the whole issue I had with making sure I didn’t burn myself when transferring the dough to the hot pot. This was a source of some bread baking anxiety that often occured for me. Sometimes the bottom crust of the bread would burn but I still found baking this bread worth it. That is, until I discovered a few tips and tricks to make it so easy, it’s practically fail proof.
The way I make No-Bread is by mixing the ingredients like the original method and letting it rest overnight. The next day when I’m ready to bake, I line the bottom of my pots (1 cast iron and the other one a normal non-stick soup pot) with a small square of parchment paper. Instead of punching the dough down for a second rise, I add just enough flour to the bubbly looking dough (because I make two at a time) so I can scoop the dough from the bowl without it sticking too much to my hands. From there I place the loosely formed dough ball in the center of each pot. I cover the pots with lids and stick them both in my cold oven. I set the oven temperature to 450 degrees F. and my kitchen timer for 30 minutes. When my timer goes off I carefully open the oven door and remove both lids and close the oven door for the bread to continue to bake. I set my timer for another 30 minutes. When the timer rings, I carefully remove the pots from the oven.
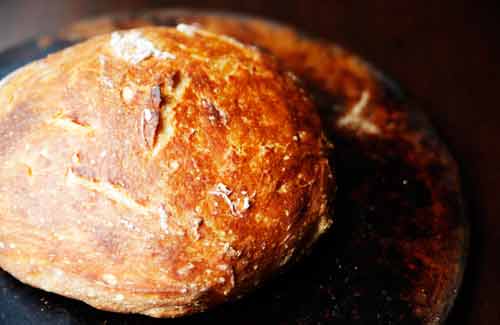
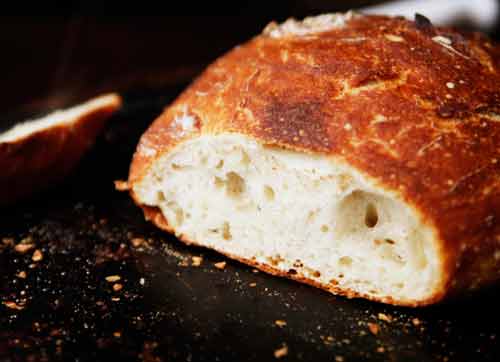
Inside the pots are beautiful, rustic, artisan-like bread which can only be described as glorious. I grab clean kitchen towels and tongs carefully removing the loaves from the pots. The smell of warm yeasted bread wafting throughout the house is incredible. As far as the flavor and texture, I can only describe it as glorious. Beautiful, glorious bread with no burned bottom crust.
My mother has taken to making bread almost daily. I converted her. And trust me, if she can do it, you can do it, too. This easier way of baking this bread is a game changer. You’ll want to bake bread all the time and I don’t blame you one bit. You’ll never want to buy artisan bread again.
Tips: If you have two pots with oven safe lids that can fit in your oven, make two batchs of this at the same time and bake both loaves at the same time. The baking times are the same and you’ll be happy to have two loaves because the first one always disapears so quickly. Any leftover bread can be stored in a ziplock bag. The crust will soften a bit in a ziplock bag but it makes for excellent sandwich bread, toast, and for making croutons.
- 3 cups all purpose flour
- 2 teaspoons kosher salt
- ¼ teaspoon instant yeast
- 1½ cup luke warm water
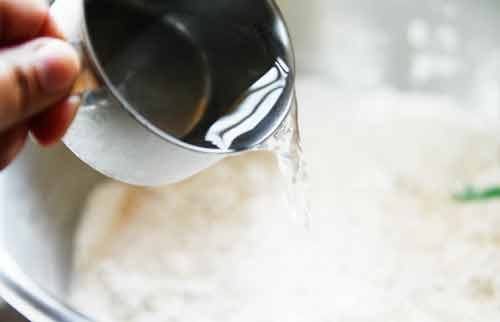
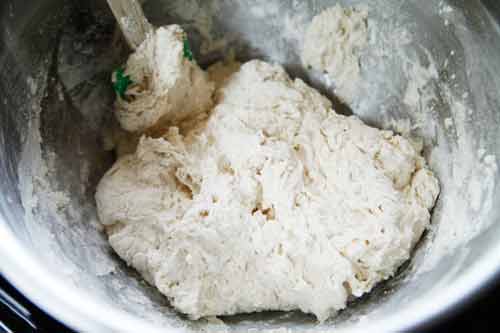
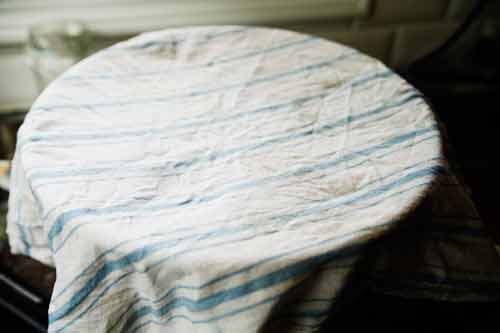
- In a medium large bowl, mix the flour, salt, and yeast together. Pour the water over the flour mixture and mix with a spoon until the flour is absorbed and the mixture resembles wet sticky dough. Cover the bowl with either plastic wrap, foil, or a clean, wet, kitchen towel. Place the bowl in a warm place.
- Allow the dough to rest overnight.
- Cut a piece of parchment paper slightly smaller than the base of the pot. Place the parchment paper inside the pot.
- Sprinkle just enough flour on the dough to be able to scoop the dough out with your hand without being too sticky. Place the loosely form dough ball in the center of the pot, on top of the parchment paper. Place a oven-safe lid on top of the pot and place it in the cold oven.
- Turn the oven on to 450 degrees F and set a kitchen timer for 30 minutes.
- After 30 minutes, carefully remove the lid from the pot and bake for an additional 30 minutes. Remove the pot from the oven and carefully remove loaf from the pot.
- Allow the bread to rest for 5 minutes before cutting into slices.


omg. this recipe sounds exactly like it would solve all of my problems I have with the original recipe. I can’t wait to try it!! From a girl with 2 kids who doesn’t have time or hands to do much in the morning…this recipe is a lifesaver!! thanks sooo much for sharing!! 🙂
Baked my first loaf this morning using the convection oven method, adding a couple of extra minutes to make up for opening the oven to remove the pot lid. Had an issue with the lower sides of the bread sticking to the pot, so will try no-stick spray next time. Bread was not fully cooked. Top crust was still a bit soft and even after cooling the loaf was quite difficult to slice. Almost had a crumpet consistency. Makes great toast, though
Hi,
I love the idea of adding sourdough starter to this bread. How does it turn out? Do you make any changes to the recipe to compensate for the starter?
Thank you.
Hi, just mixed a loaf for tomorrow. If the dough is a bubbly soupy mess before the transfer to the dutch oven for baking, how much flour would you estimate you add? Do you mix it in or just sprinkle on (the whole thing)?
Thank you.
Thank you so much for this nice recipe.
Just wondering if it will be ok to add couple of tablespoons of olive oil to the dough. ( They say oil will make the bread last longer without going bad.)
Thank you so much for this recipe. My DH made this this morning, we cooked on 210 fan for 30 minutes then 25 with the lid off. He cooked 2 pods of bread at the same time. Fab.
The first time I made this recipe I followed the exact directions and it came out really well. However, being single, I wasn’t able to eat the entire loaf before it went bad (I know I had options such as freezing, turning into croutons, or toasting but I ended up feeding the ducks).
The second time, I halved the recipe and added 1/8 tsp. of sugar. I also let it rise for around 24 hours (not on purpose). I researched online and it said to keep the baking temp/time the same even if the recipe was halved so I did. This smaller loaf came out much crispier, but there were spots on the bottom where it was slightly burnt. However, that didn’t affect the taste or anything. The inside of the bread was also full of more holes so I don’t know if that was due to the sugar I added or the longer rise.
The third time (today), I made the normal batch but halved the dough and put the other half in the fridge. This time, I used the full amount of ingredients, added 1/4 tsp. of sugar, and let it rise for around 20 hours. Again, I kept the baking temp/time the same and even took it out a few minutes early. Again, the loaf is extra crispy on the outside and spongy and full of holes on the inside. However, the bottom was much more burnt/harder than the last 2 loaves. It still tastes good, but it is a bit more difficult to eat since the bottom is so hard. There’s no burnt taste, but it’s darker than I like.
I’m going to make the refrigerated dough tomorrow evening (and that will be an experiment by itself!) and I might experiment with a shorter baking time at the same temp. Maybe 20 minutes with the lid on, 20 minutes off.
Great recipe though! Tonight I cut a large piece of bread in half, put a bit of butter and garlic powder on it, put some fresh mozzarella on top, and stuck it in the oven to broil. Cheesy garlic bread – just what I’d been craving!
It is helpful, yes, but what would be even more helpful is to tell us if you changed the baking time for these smaller loaves.
The question was does the baking time change when you make a smaller loaf?
try baking 40 min. covered 10 uncovered